



 한국어
한국어

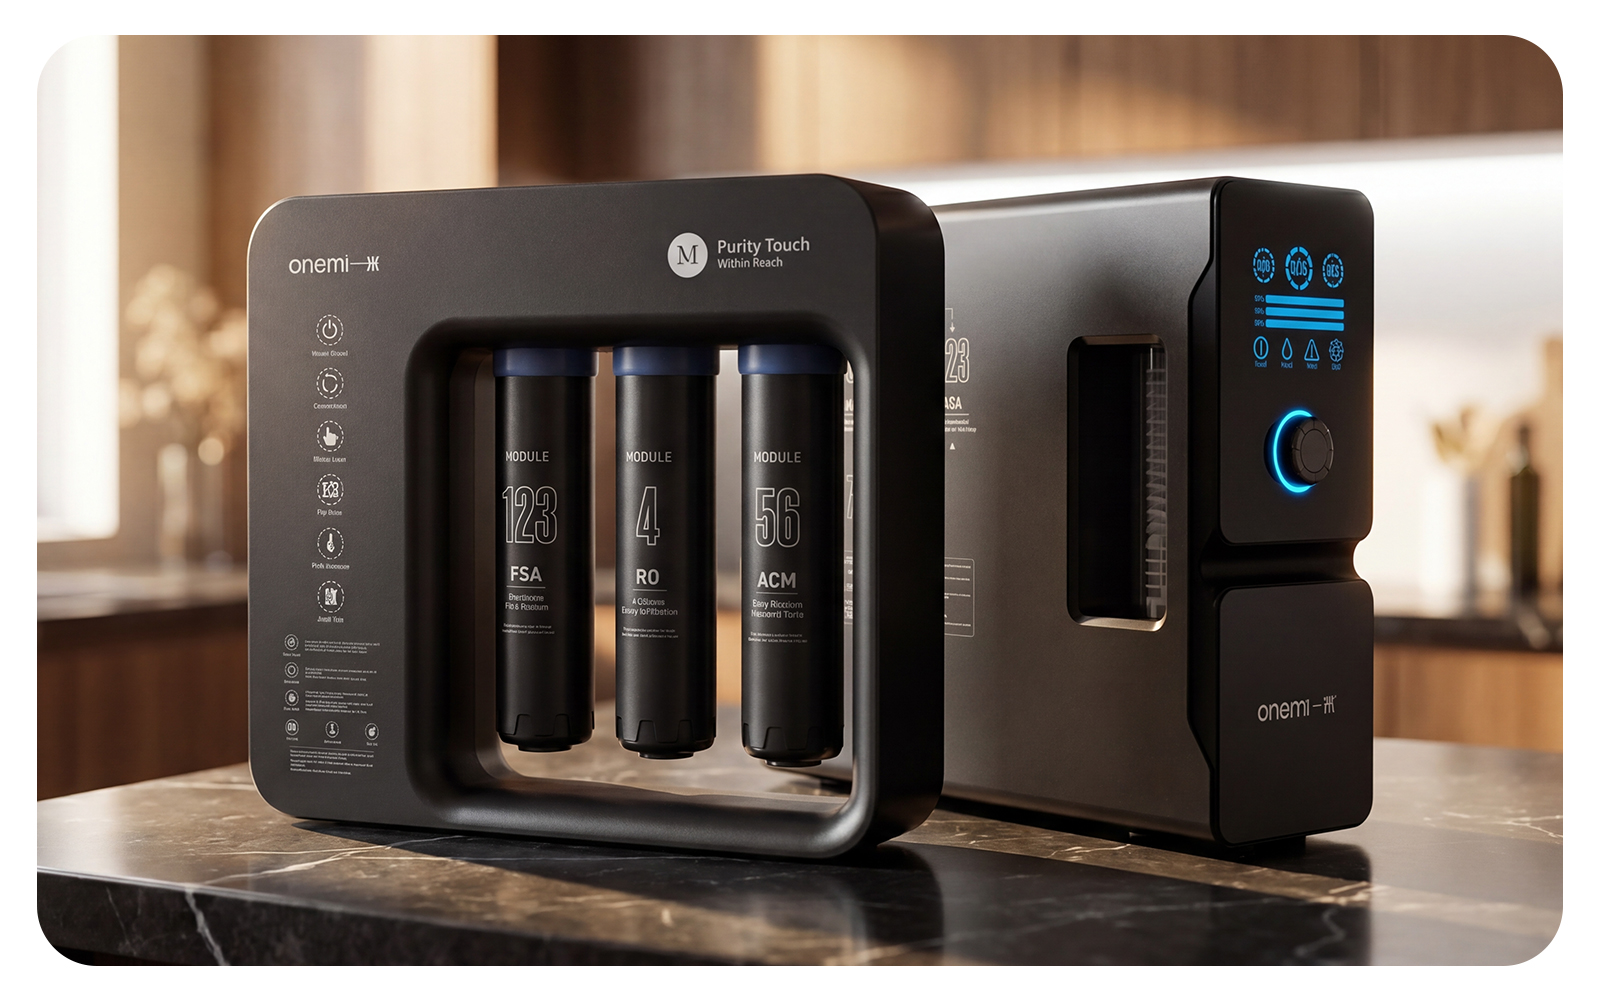
For decades, residential water filtration was a compromise between space, flow rate, and purity. Traditional multi-stage under-sink systems required a massive 3-to-5-gallon pressurized storage tank that monopolized your entire cabinet, bred bacteria if left sitting during vacations, and trickled out water at a frustratingly slow pace. Today, the market has shifted decisively toward high-capacity, tankless Reverse Osmosis (RO) systems. These modern units deliver on-demand purification, producing between 400 and 1200 gallons of purified water per day (GPD) while occupying less than half the footprint of their predecessors.
Executive Summary
- Modern tankless RO systems deliver 400 to 1200 GPD on-demand, eliminating the bulky, unhygienic storage tanks of traditional filtration setups.
- A successful DIY installation requires navigating specific spatial, plumbing, and electrical parameters, particularly the 110V power requirement for internal booster pumps.
- Upgrading to high-flow tankless technology reduces wastewater ratios from a wasteful 4:1 down to an eco-friendly range of 1.5:1 to 3:1.
The Evolution of Under-Sink Filtration: Tank vs. Tankless
Understanding the stark differences between legacy tank-based systems and modern tankless RO units is essential before clearing out your cabinet. Traditional systems rely on line pressure to push water through a semi-permeable membrane at a painfully slow rate, storing the output in a pressurized bladder tank. When you open the faucet, the tank empties quickly, but once drained, you must wait hours for it to refill. Furthermore, these tanks experience pressure drops as they empty, resulting in a steadily weakening stream of water.
Tankless systems bypass this entire bottleneck by integrating an internal electric booster pump. This pump actively forces water through a high-capacity membrane in real-time, delivering a fast, consistent flow directly to your glass. Because there is no standing water reservoir, the risk of secondary bacterial colonization is virtually eliminated.
| Feature / Metric | Traditional Tank RO Systems | Modern Tankless RO Systems |
|---|---|---|
| Daily Production Capacity | 50 – 90 Gallons Per Day (GPD) | 400 – 1200 Gallons Per Day (GPD) |
| Flow Rate at Faucet | 0.25 – 0.4 Gallons Per Minute (drops as tank empties) | 0.6 – 1.3 Gallons Per Minute (constant on-demand flow) |
| Wastewater Ratio (Drain:Pure) | 3:1 to 5:1 (highly wasteful) | 1:1 to 1:3 (highly efficient) |
| Under-Sink Footprint Required | Large (requires ~11″ x 11″ x 15″ tank + separate filter tower) | Compact (typically a single slim unit, ~5″ to 7″ wide) |
| Power Requirement | None (runs purely on municipal water pressure) | Requires dedicated 110V-220V GFCI electrical outlet |
| Secondary Contamination Risk | Moderate (standing water in rubber bladder over time) | Extremely Low (freshly filtered on-demand) |
While tankless systems represent a massive leap forward in both convenience and efficiency, they introduce a distinct installation dynamic. You must have an active electrical outlet beneath your sink to power the internal pump. Without this, a high-capacity tankless system cannot function, representing a critical pre-purchase check that many homeowners overlook.
Pre-Installation Assessment: The DIY Checklist
Before ordering any filtration hardware, you must verify that your installation site meets the physical, electrical, and plumbing demands of a high-flow system. Skipping this step often leads to mid-project hardware store runs or, worse, return shipping fees for incompatible equipment. Let us break down the exact parameters you need to measure and confirm.
- Physical Cabinet Dimensions: Measure the height, depth, and width of your under-sink cabinet. Take into account garbage disposals, deep sink basins, pull-out drawer tracks, and existing plumbing stacks. Modern tankless units are slim but require at least 2 inches of clearance around their cooling vents to prevent the booster pump motor from overheating.
- Electrical Infrastructure: Look for a dedicated, unswitched 110V GFCI outlet under your sink. If you have a garbage disposal, it likely plugs into an outlet controlled by a wall switch. You cannot tap into a switched outlet, as the RO system requires continuous power to run its automatic membrane-flushing cycles. If no unswitched outlet exists, you will need to hire an electrician to run a new line or split your existing disposal outlet.
- Water Supply Compatibility: Most residential under-sink systems connect to a 3/8-inch cold water shut-off valve. Inspect your existing valve. If you have an older 1/2-inch multi-turn valve or a copper compression fitting, you will need an adapter or a specialized feed water adapter tee to tap into the cold water line safely. Never, under any circumstances, connect an RO system to your hot water line; high temperatures will instantly destroy the delicate polyamide thin-film composite membrane.
- Countertop Hole Availability: RO systems require a dedicated drinking water faucet. If your sink lacks an unused accessory hole (typically used for soap dispensers or side sprayers), you must drill a new 1-1/4 inch to 1-3/8 inch hole through your countertop. Drilling through granite, quartz, or solid soapstone requires diamond-grit hole saws, steady water cooling, and a high degree of patience.
Many homeowners assume their municipal water pressure is perfectly fine, but RO systems are highly sensitive to incoming pressure variations. For a tankless system to hit its rated GPD, it ideally needs an incoming municipal pressure between 30 and 80 PSI. If your home runs on a private well with a pressure switch set to 20/40 PSI, your system will struggle, and the internal pump will work overtime, shortening its lifespan. Brand choices also matter here; premium options like ONEMI incorporate smart pressure-sensing bypass valves that protect the internal components from sudden municipal pressure spikes, ensuring stable operation even in older municipal grids with erratic water pressure profiles.
Are you comfortable working in tight spaces with copper and plastic tubing? If you have basic hand tools and a couple of hours, this project is highly achievable for a novice DIYer.
Step-by-Step DIY Installation Blueprint
Once you have verified your cabinet space and gathered your tools, it is time to begin the actual installation. Ensure you have a bucket, some old towels, a utility knife, an adjustable wrench, and Teflon tape close at hand. Turn off the main water shut-off valve to your house or, at the very least, the cold water shut-off valve directly under your kitchen sink before proceeding.
Step 1: Installing the Feed Water Adapter
Locate the cold water shut-off valve under your sink. Disconnect the flexible faucet riser hose from the shut-off valve using your adjustable wrench. Wrap the threads of the shut-off valve with three to four wraps of Teflon tape, winding clockwise. Thread the feed water adapter tee provided with your filtration kit onto the cold water shut-off valve, tightening it firmly but avoiding over-torqueing, which can crack the internal rubber washers. Reconnect the faucet riser hose to the top of the adapter tee.
Step 2: Mounting the RO Faucet
If you have an empty sink hole, remove the plastic plug. If you are drilling through a stainless steel sink, use a bi-metal hole saw; for stone countertops, use a diamond-tipped core drill bit. Once the hole is ready, slide the decorative chrome escutcheon plate and the rubber sealing washer onto the faucet stem. Feed the stem down through the countertop hole. From beneath the sink, slide on the plastic locating washer, the metal lock washer, and thread on the retaining nut. Tighten the nut securely with a basin wrench or deep socket until the faucet base is completely immobile on the countertop.
Here is a practical gotcha that catches many DIYers off guard: when installing the dedicated faucet, it is incredibly easy to accidentally pinch or crimp the thin plastic tubing as you tighten the mounting nut from below. If this happens, your flow rate will drop to a crawl, and you might mistake it for a faulty pump or a clogged membrane. Always feed the tubing through the mounting hardware carefully and check for kinks before final tightening.
Step 3: Installing the Drain Saddle Clamp
Reverse osmosis systems generate wastewater that must be routed to your household drain. Locate a straight section on your sink’s drain pipe, ideally above the P-trap on the vertical tailpiece. Drill a 1/4-inch hole through one side of the drain pipe. Stick the adhesive foam gasket over the drilled hole, aligning the holes perfectly. Position the drain saddle clamp over the pipe, aligning its fitting with the hole you drilled. Insert the bolts and tighten them evenly with a screwdriver. Do not over-tighten, as you can easily crush plastic PVC drain pipes.
Step 4: Positioning the Filtration Unit and Connecting Tubing
Place your tankless RO unit in its designated spot inside the cabinet. Most modern systems use quick-connect push fittings, which make plumbing incredibly straightforward. To connect a tube, ensure the end is cut perfectly square with a sharp utility knife; an angled cut will cause a slow, persistent leak. Push the tubing firmly into the fitting until you feel it bottom out, then pull back gently to lock the internal collet. Connect the input port of the RO system to your feed water adapter, the output port to your newly installed faucet, and the drain port to the drain saddle clamp.
Step 5: Electrical Connection and System Startup
With all plumbing lines secure, plug the system’s power adapter into your dedicated unswitched GFCI outlet. Slowly open the cold water shut-off valve under the sink. Check every joint, thread, and push-fitting for immediate leaks. If everything is dry, open the dedicated RO faucet on your countertop. You will hear the internal booster pump engage, and after a few moments of purging air, water will begin to flow. Allow the system to run continuously for 15 to 20 minutes to thoroughly flush the carbon dry fines and preservative chemicals out of the new RO membrane before drinking.
Testing, Commissioning, and Long-Term Maintenance
Once your system is up and running, you cannot simply forget about it. Maintaining water quality requires a systematic approach to testing and scheduled filter replacements. The most effective way to monitor your RO system’s performance is by measuring Total Dissolved Solids (TDS) using a basic handheld digital TDS meter. Test your raw tap water first, then test the purified water coming from your RO faucet. A healthy, fully functioning RO membrane should achieve a rejection rate of 90% to 98%. For instance, if your incoming tap water measures 300 PPM, your purified water should register between 6 PPM and 30 PPM.
Filter replacement schedules vary based on your local water quality and daily usage patterns, but a standard checklist-based protocol keeps the system running efficiently:
- PP Cotton & Carbon Block Pre-Filters: Replace every 6 to 12 months. These filters protect the expensive RO membrane by removing chlorine, sediment, and rust. Chlorine is particularly destructive to thin-film composite membranes, degrading them within a few weeks of direct exposure.
- Reverse Osmosis Membrane: Replace every 24 to 36 months. High-capacity tankless membranes last longer because integrated smart flushing cycles automatically wash away accumulated minerals from the membrane surface every time the pump stops running.
- Post-Carbon Refine Filter: Replace every 12 months. This final stage polishes the water’s taste, removing any residual odors that might develop as water passes through the system components.
Failing to replace your pre-filters on time will lead to premature membrane fouling, which manifests as a drastic drop in water production and a rising TDS reading on your purified water. Many modern tankless systems feature integrated LED indicators on the faucet base or the main chassis that alert you when a filter’s lifespan is nearing its end, removing the guesswork from your maintenance routine. When shopping for replacement cartridges, sticking with certified OEM parts from reputable manufacturers like ONEMI ensures that you maintain NSF/ANSI safety standards and do not void your equipment warranty.
Troubleshooting Common DIY Installation Pitfalls
Even with careful planning, minor issues can arise during your first DIY installation. Understanding how to diagnose and resolve these issues quickly will save you from unnecessary frustration and potential water damage.
If you experience a loud vibrating or humming noise when the system is running, the culprit is usually air trapped inside the filter housings or the booster pump head. This is completely normal during the first 48 hours of operation. You can accelerate the purging process by gently tilting the main filtration unit 45 degrees side-to-side while the pump is running to help trapped air bubbles escape down the drain line. Additionally, ensure the system is sitting on a flat, stable surface; if the chassis is vibrating against the cabinet wall, placing a small rubber vibration-dampening pad underneath will quiet it down instantly.
What if you notice a slow drip from a quick-connect fitting? Do not panic. Turn off the water supply, depressurize the system by opening the faucet, and pull the locking collet inward to release the tubing. Inspect the end of the tube. If you see deep scratches or an uneven cut, use a sharp utility knife to slice off the damaged half-inch of tubing, making sure the new cut is perfectly square. Push the clean tubing back into the fitting until it locks. This simple fix resolves roughly 95% of all post-installation leaks.
Finally, if your system seems to run constantly without shutting off, double-check your plumbing routing. If you accidentally swap the drain line and the faucet line connections, the internal pressure switch will never detect that the faucet has been closed. The pump will continue to run indefinitely, which can burn out the motor within a few days. Always trace your lines carefully from the unit ports to their destinations before leaving the system unattended.
Investing in a high-capacity under-sink RO system is one of the most impactful upgrades you can make for your home. By choosing a modern tankless design, you reclaim valuable cabinet space, reduce your environmental footprint, and secure a continuous supply of pure, clean drinking water for your family. With a systematic approach to installation and routine maintenance, your DIY filtration system will deliver trouble-free performance for years to come.