



 한국어
한국어

**ONEMI Filter Cartridge Replacement Guide — When, How, and Why to Replace Your Water Filter**
Filter cartridge replacement remains the most critical maintenance task for any water purification system. A clogged, expired, or neglected filter compromises water quality. It also damages downstream RO membranes and drastically reduces your system's lifespan.
This ONEMI guide covers everything you need to know about replacing your water filter cartridges. We break down replacement intervals, provide step-by-step instructions, and explain how to optimize system performance.
**1. Why Filter Cartridge Replacement Matters**
Every filter cartridge has a finite capacity. As contaminants accumulate on the filter media, filtration efficiency drops and flow resistance increases. A saturated carbon filter stops removing chlorine and organic compounds. A clogged sediment filter forces the booster pump to work harder, accelerating wear and increasing energy consumption.
According to NSF International guidelines, timely cartridge replacement is the primary factor in maintaining a water treatment system's rated performance. Delaying replacement by just 3 months can reduce contaminant removal efficiency by 40-60% in carbon-based filters.
**2. ONEMI Filter Cartridge Types and Replacement Intervals**
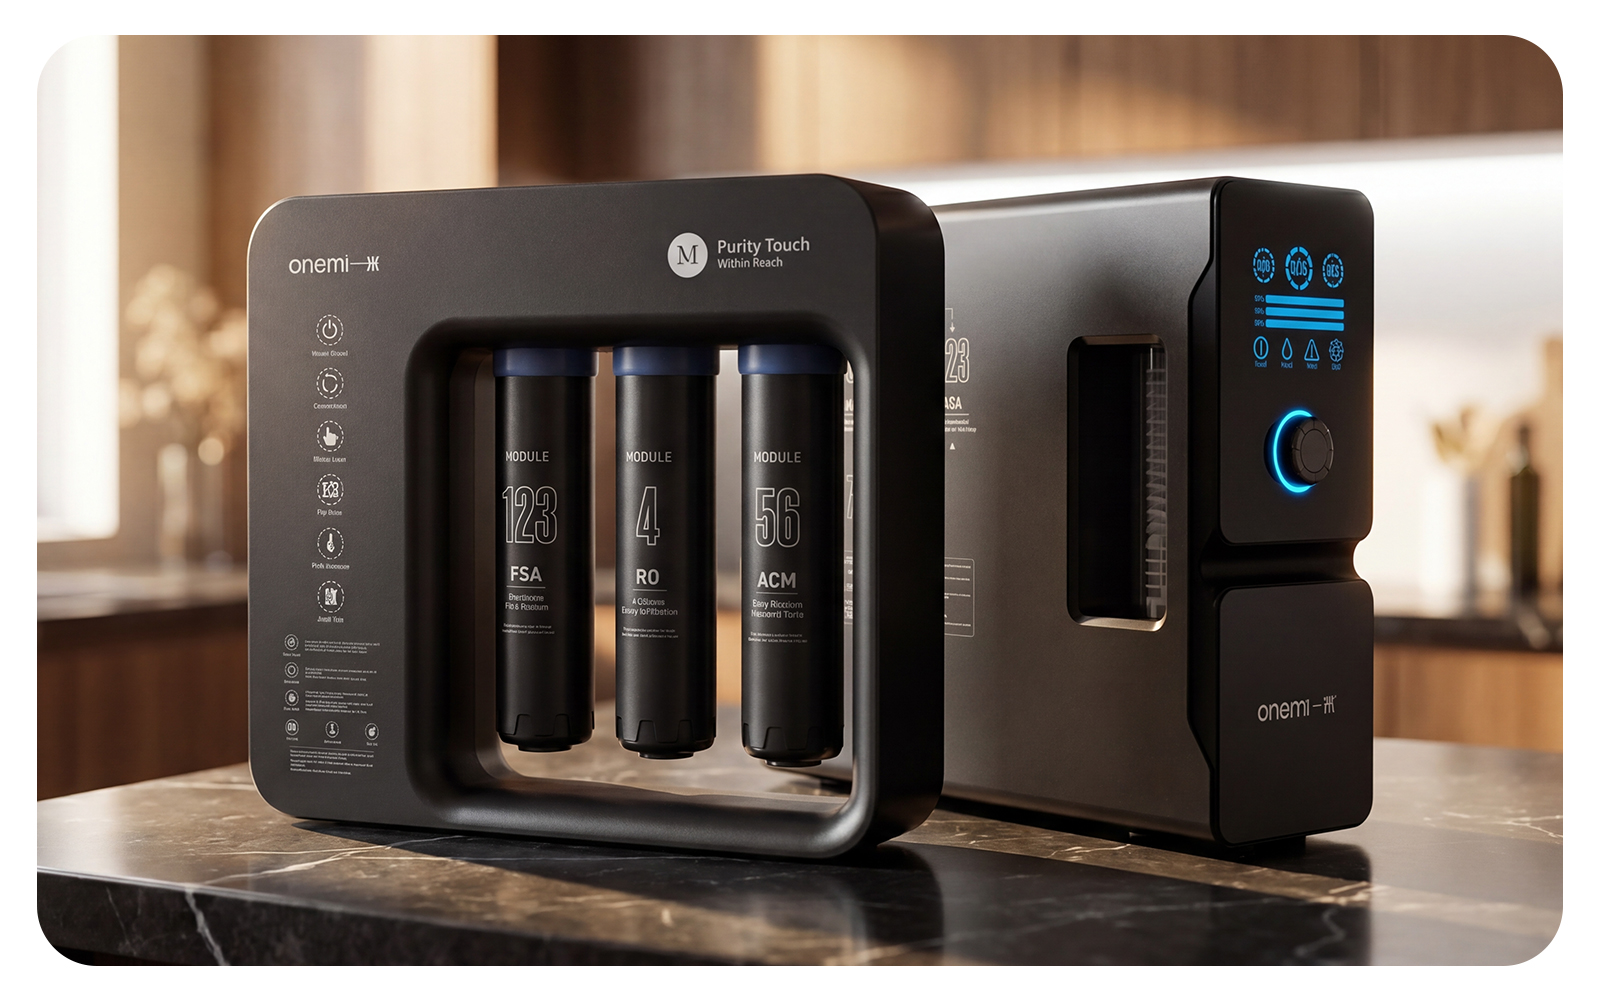
ONEMI water purification systems utilize a multi-stage filtration architecture. Each stage targets specific contaminants and requires a distinct replacement interval:
| Filter Stage | Type | Replacement Interval | Function |
| :— | :— | :— | :— |
| Stage 1 | PP Sediment Filter | 6-12 months | Removes sand, rust, silt, suspended solids >5μm |
| Stage 2 | Granular Activated Carbon (GAC) | 6-12 months | Removes chlorine, odor, organic compounds, improves taste |
| Stage 3 | Carbon Block (CTO) | 6-12 months | Fine chlorine/odor removal, protects RO membrane |
| Stage 4 | RO Membrane | 24-36 months | Removes heavy metals, TDS, bacteria, viruses at 0.0001μm |
| Stage 5 | Post Carbon (T33) | 12 months | Final taste polishing, removes any tank odor |
*Note: These intervals serve as general guidelines. Actual replacement timing depends on feed water quality, daily usage volume, and local water hardness. Homes utilizing well water or hard water (>200ppm) must replace pre-filters every 6 months.*
**3. Signs Your Filter Cartridge Needs Replacement**
Never rely solely on the calendar. Watch for these operational warning signs:
* **Drop in flow rate:** Water output slows noticeably. This is the most common early warning of a clogged pre-filter.
* **Taste or odor change:** A chlorine taste returns, or the water develops an earthy/musty smell. This indicates an exhausted post-carbon filter.
* **TDS creep:** The RO output TDS reading rises above 10% of the feed TDS. Your RO membrane may be failing.
* **Unusual noise:** The pump runs continuously or makes grinding sounds. Check your pre-filters for severe blockages.
* **Cloudiness or particles:** You see visible sediment in the filtered water. The sediment filter has ruptured or bypassed.
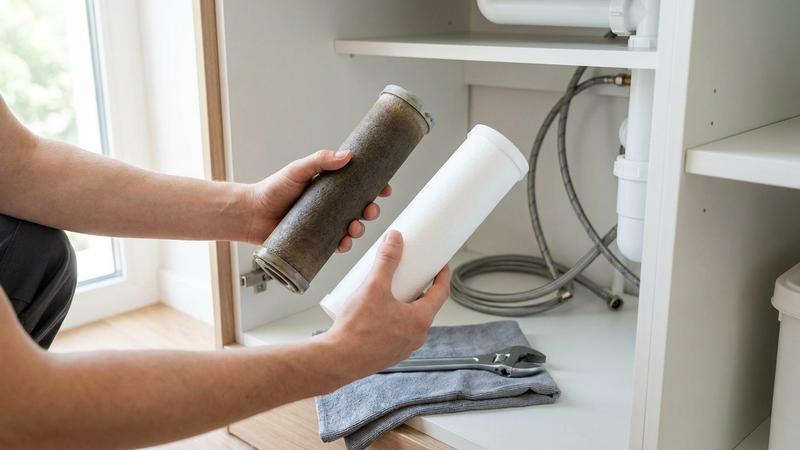
* **Filter discoloration:** White PP filters turn dark brown or black. The filter is well past its replacement window.
**4. Step-by-Step Replacement Guide for ONEMI Systems**
**What You Need:**
* Replacement filter set (ONEMI compatible)
* Filter wrench (included with ONEMI systems)
* Clean towel or tray (to catch drips)
* Sanitizing solution (food-grade hydrogen peroxide recommended)
**Procedure:**
**Step 1 — Shut Off:** Close the feed water valve and the storage tank valve. Unplug the system from its power source.
**Step 2 — Depressurize:** Open the dispensing faucet to release residual system pressure. Wait until the water flow stops completely.
**Step 3 — Remove Old Filters:** Use the filter wrench to unscrew each filter housing by turning it counterclockwise. Remove the old cartridge. Pour out any residual water from the housing.
**Step 4 — Clean & Sanitize:** Wash the housings with warm water and mild soap. Apply a food-grade sanitizer to the housing interior. Do not skip this step. Skipping sanitization remains the leading cause of post-replacement bacterial contamination.
**Step 5 — Install New Filters:** Remove all protective wrapping. Insert the new cartridge and ensure the O-ring seats properly. Apply a small amount of food-grade silicone grease to the O-ring to prevent leaks. Tighten the housing firmly by hand, then give it a 1/4 turn with the wrench. Do not overtighten.
**Step 6 — Flush:** Restore the water supply and power. Let the system run for 5-10 minutes with the faucet open. This flushes manufacturing dust and carbon fines from the new filters. The water may appear cloudy or dark initially. This is normal and will clear after flushing.
**Step 7 — Check for Leaks:** Inspect all connections and housing seals. A small drip now will become a major leak later. Tighten fittings as needed.
**5. Performance Optimization: ONEMI vs. Third-Party Filters**
ONEMI strongly recommends using genuine ONEMI cartridges to maintain optimal system performance and safety:
* **Certified performance:** Genuine cartridges undergo rigorous testing. They are certified to meet the system's exact rated contaminant reduction claims.
* **Proper fit:** Exact dimensional tolerances prevent water bypass and leakage.
* **Material quality:** NSF/ANSI 61 certified materials guarantee no harmful substances leach into your drinking water.
* **Warranty protection:** Installing unauthorized third-party filters may void your system warranty.
**6. Common Mistakes to Avoid**
Filter cartridge replacement is straightforward, but it requires strict attention to detail. Avoid these common errors:
* **Skipping the flush:** New carbon filters release fine carbon dust. Always flush the system for 5-10 minutes before use.
* **Overtightening housings:** Excessive force can crack the housing or deform the O-ring, resulting in leaks.
* **Mixing up filter order:** The strict sequence is Sediment → GAC → CTO → RO → Post-Carbon. Reversing these stages will destroy the RO membrane.
* **Forgetting the O-ring:** A missing or pinched O-ring guarantees a leak. Always inspect the seal before reassembly.
* **Using incompatible filters:** Generic filters often feature different dimensions, flow characteristics, or material specifications that compromise system integrity.
**7. ONEMI's Quick-Connect Advantage**
ONEMI's latest point-of-use RO systems feature advanced quick-connect push-fit fittings. These make filter replacement a tool-free, 30-second operation. You need no wrench and face no risk of cross-threading. Simply push to release the old cartridge, and push to lock in the new one.
For traditional housing-type systems, ONEMI includes a dedicated filter wrench and a detailed multilingual installation guide with every unit. You can source replacement filters directly through our core components catalog.
**8. The Bottom Line**
Timely filter replacement marks the difference between a purifier that produces safe water and one that breeds bacteria. ONEMI operates as a leading water purification equipment manufacturer with 15 years of dedicated industry experience. We engineer our systems for effortless maintenance and extended service life. Follow this guide, and your ONEMI system will deliver reliable performance for years to come.
For bulk OEM/ODM filter cartridge orders, contact ONEMI's export team. We supply premium replacement filters compatible with our full product range to distributors and brand partners across 60+ countries.
Visit www.onemiro.com/en/ for comprehensive product specifications and replacement filter compatibility charts.
*ONEMI — www.onemiro.com Original Content*
*ONEMI onemiro.com Original Content Yimi PureFlow Technology*